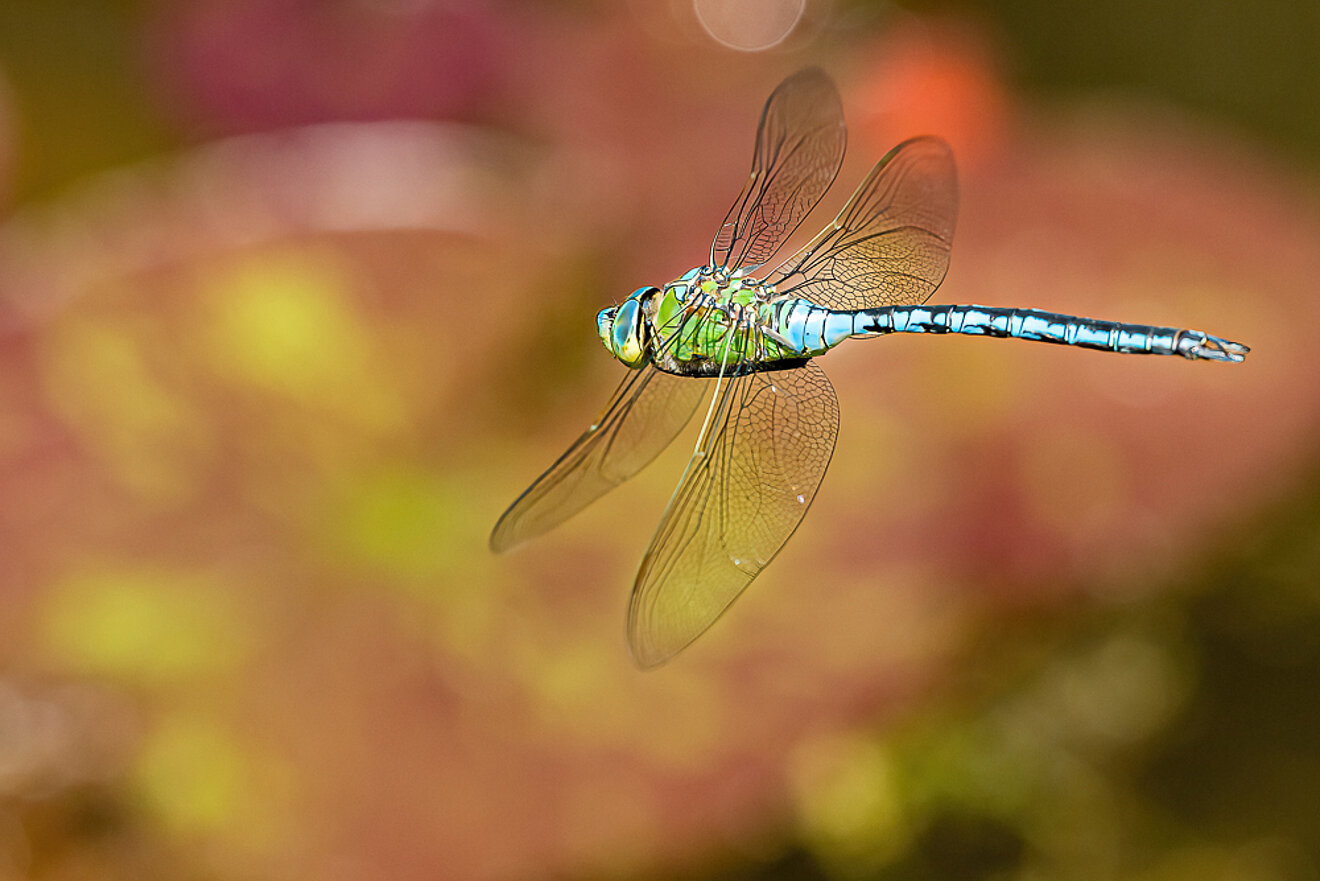
If you look at the photo streams on flickr, 500px and similar platforms, you will notice that dragonflies are a popular motif in the summer months. However, it is mainly dragonflies sitting on a lookout or hanging from a branch that are photographed. The mating of dragonflies is also often photographed.
Flight photos of dragonflies are rarer. Certain species such as the blue-green mosaic dragonfly (Aeshna cyanea) are disproportionately represented.
With this tutorial I would like to show you how I take my flying shots. In principle, the procedure is also suitable for other insects or birds.
The first dragonfly-like insects lived 320 million years ago, and they have hardly evolved for 150 million years.
Dragonflies are predatory insects that seize their prey in flight. They are capable of remarkable flight manoeuvres - abrupt changes of direction, standing in the air or fast flights at up to 50km/h. (Slow) backward flights can also be observed.
Observation is essential for dragonfly photography. Some species prefer to hunt from a vantage point to which they return after a hunting or patrol flight, others are constantly in the air and always fly the same routes. We should know this behaviour of the individual species so that we can make use of it.
For photographing dragonflies I usually use 2 Canon EOS 5D Mark III, one of which is equipped with the Canon EF 300 f/4L IS USM or the Canon EF 100-400 f/4.5-5.6 L IS USM II, while the other body carries a Sigma 180mm f/2.8 EX DG OS HSM Macro.
Both cameras are equipped with a battery grip and an external GPS device to track where the images were taken. They are attached to a double strap so that they can be grabbed quickly. This gives me more flexibility than with a tripod.
Some of the necessary settings are set by default for me. This affects the image quality, behaviour of the autofocus and so on.
I work with both cameras in raw mode with maximum resolution. This gives me more reserves for editing. I normally work in manual mode so that I can set the aperture and exposure time. That's why the sensitivity is set to Auto ISO on both cameras. The upper range is limited to 12,800. As the 5D Mark III can go much higher, this still results in good image quality.
The reaction speed of the autofocus is essential. In my case, the mode is set to "Immediately focus on subjects that enter AF fields". In fine tuning, the value "-2" is set for the "AF Reaction" so that the focus does not immediately jump to another object that appears by chance; the other two values are set to "2".
I use centre-weighted exposure metering. I have set the white balance to 5500K, but this can easily be adjusted during image processing. \n When taking aerial shots, it makes sense to use continuous shooting. In order to be able to switch quickly to single shots, I have selected Ai mode, in which the camera decides independently whether single shot or continuous shooting is necessary. In continuous mode, I usually work with "only" 3.5 shots per second, which is sufficient for me.
